
How to clean and maintain your coffee grinder
Coffee grinder cleaning is a must for all grinders!
Whether you’re grinding coffee for a plunger, filter or coffee machine traces of coffee residue remain in the grinding chamber. It’s not a matter of how much coffee is ground but how long this residue remains before it becomes rancid. In this step by step guide we show you how and when to clean your grinder along with cautions.
Time needed: 8 minutes.
How to clean and maintain a coffee grinder
- Grind out retained coffee
NB: Before cleaning read manufacturers instructions!
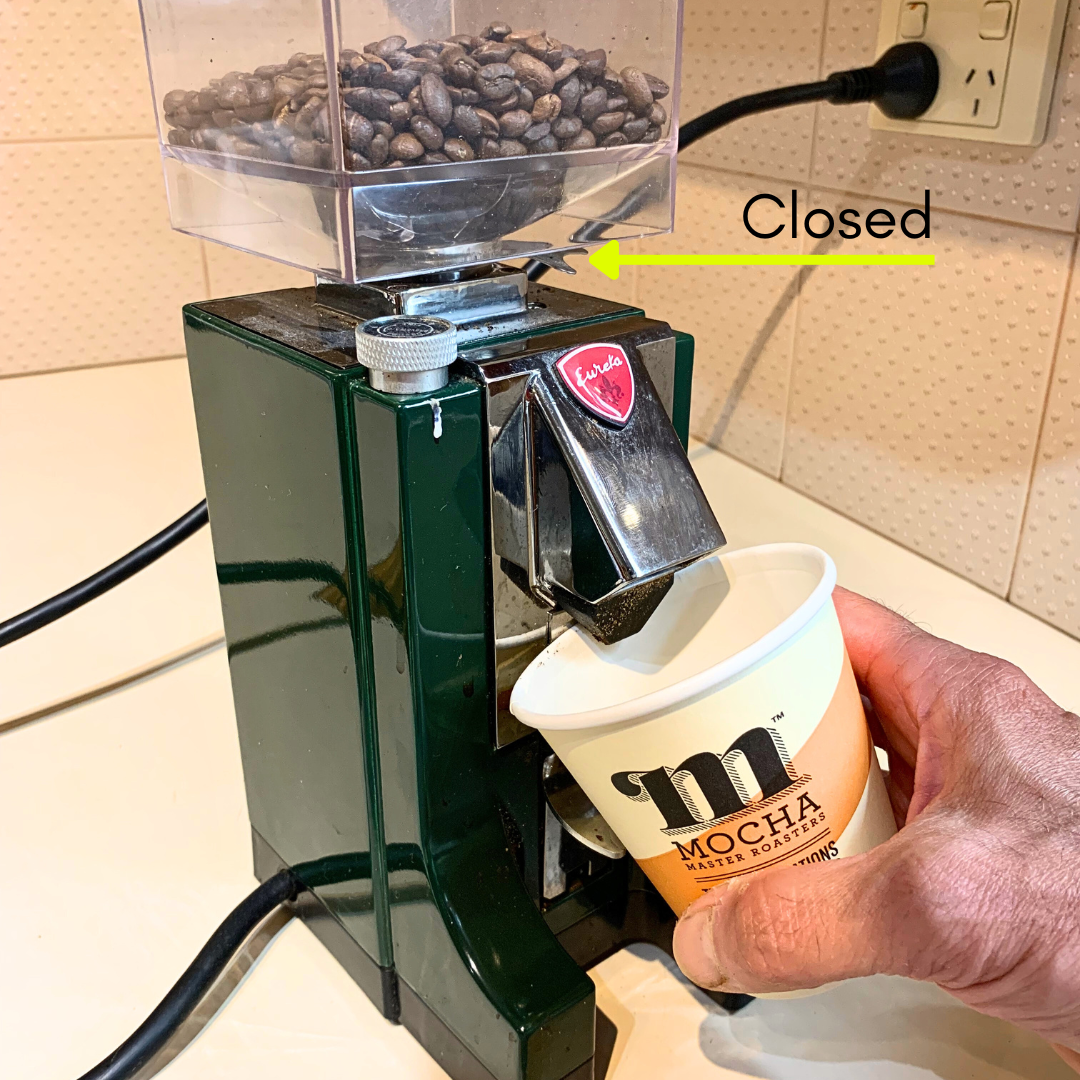
Close the hopper chute by pushing the slide gate inwards. Grind out the retained coffee from the grinding chamber into a cup.
NOTE: Avoid keeping excess coffee beans sitting in the hopper as the coffee will oxidize faster and absorb odors. Only place enough coffee beans that you need each time to make your coffee. When grinder is not in use, keep the coffee hopper and grinder chamber empty and remove lid. This will decrease the rate of the rancid odors developing in the plastic coffee bean hopper and grinding chamber. - Remove hopper

CAUTION: Turn grinder off and remove electrical plug from the power source. Gently wiggle hopper and remove. - Remove coffee beans

Pull coffee gate outwards and allow the beans to fall into an airtight container. - Use Grinder clean pellets

Pour a heaped tablespoonful of Grinder Clean pellets into bean hopper and grind through. These pellets are food grade and assist in displacing the ground coffee residue between the blades and help absorb any rancid odors. NOTE: Grinder clean pellets must be used at least once a month from when you purchased your grinder. If your grinder has never been cleaned we recommend to book it into our service center and have a technician clean it thoroughly as the pellets may not be as effective in removing heavy residue buildup. Book service here 02 95655227 - Grind cleaning pelletes

Grind through all the cleaning pellets. - Closed coffeee bean hopper chute

Close the hopper chute and remove hopper for cleaning. Using a dry brush, brush clean any ground coffee residue from the grinding chamber.
CAUTION: DO NOT WET THE GRINDING CHAMBER! - Wash bean hopper

Thoroughly wash coffee bean hopper with warm mild soapy water. Wipe off excess water and leave hopper to dry thoroughly. CAUTION: DO NOT use any solvents as they may discolor the hopper or even worse leave an undesirable odor. DO NOT use boiling water on plastic coffee bean hopper as it may cause small fractures or deform the plastic hopper. - Wash bean hopper lid

Thoroughly wash bean hopper lid and allow to dry. CAUTION: Do not use any solvents as they may discolor the hopper or even worse leave an undesirable odor. DO NOT use boiling water as it may deform the plastic lid. - Clean grinder body

CAUTION: Ensure the grinder is NOT connected to the power source. Moisten a soft cloth with the warm mild soapy water and clean grinder body.
CAUTION: Do not wet or wipe the grinding burrs chamber. Ensure no water enters the grinding burrs chamber or any electrical components. If this happens DO NOT use the grinder, but bring it into our workshop so a technician can evaluate it. NEVER ATTEMPT TO CLEAN GRINDER OVER A TAP IN THE SINK OR SUBMERGE GRINDER IN WATER!!! - Place coffee hopper onto grinder

Place coffee beans into grinder and open grinder chute by pulling hopper gate outwards. - Grind coffee

NOTE: As you now grind coffee, you will notice some of the retained grinder clean pellets coming out with the fresh coffee grounds. Discard the first dose of ground coffee. Then grind and use the next dose. It may take up to three doses to totally remove all traces of Grinder clean pellets.
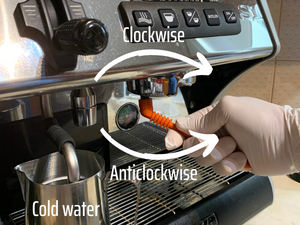
NOTE: If your grinder is used to grind coffee for your coffee machine, it’s important to coordinate cleaning your coffee grinder and backflushing your coffee machine simultaneously. Learn why here.
Now your’e ready to taste the difference it makes when all the finely ground retained and soiled coffee is removed from your grinders chamber. Enjoy a fresher, livelier tasting coffee.
If you’re having troubles getting a good crema on your espresso learn why in our 2 part blog ‘how tp find the right grind for your coffee machine’
[/vc_gutenberg][/vc_column][/vc_row]
Mike
August 30, 202410:41 amGreat tips, thanks!
Paul Mannassis
August 30, 202411:32 amGreat to hear it’s helping your coffee Mike.