
How to adjust a new coffee grinder. Step by step guide.
Before making any adjustments with your new coffee grinder it’s essential to prime and settle the blades. Here we’ll take you through the steps involved to prime your grinder and then move onto adjusting your grinder.
NOTE: If this is your first time using a grinder, I strongly recommend you read through our two part post – How to find the right grind for your coffee machine – before attempting any grinding.
We’ve personally gone on the grinder ‘merry – go -round’ in our early days at our mum and dad’s Deli – The Olympos. Trying to adjust and calibrate the right grind setting size for a new grinder without experience will send you round in circles. That’s why we’re here to stop your head spinning and get your grinder spinning.
Priming and settling in a new grinder
The blades and the grinding chamber need to have the ground coffee oils rubbed onto the burrs to develop a consistent ground coffee flow.
Zero grind setting is NOT always Zero.
Unfortunately not all grinders are calibrated at zero being the starting point. So, for safety sake it’s important to follow our guide below and prevent any damage to your grinders blades.
New grinder blades must be primed and settled before attempting to find the right adjustment. You may be thinking what’s different about a new coffee grinder and my old coffee grinder. Well, the difference is that your old coffee grinder has been used for some time. Hence, the blades are settled and well primed.
New blades on the other hand are very dry and sharp. As a result initially, they tend to grind way finer (inaccurately) with each setting. This could be due to the unprimed metal gripping onto the finer ground coffee particles causing a bit of backlog onto the blades. As a result the ground coffee particles will clump and can even jam the grinding blades. Priming is also important to the flavour of your coffee. Until the grinding blades are well primed, the coffee will taste a little thin and lack body and depth of flavour.
Unless you prime and settle the grinder blades you’ll get very frustrated trying to adjust your new grinder.
How to adjust and prime a new grinder
- Read the manufacturers safety instructions.
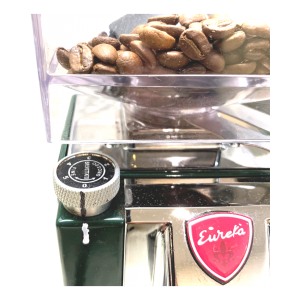
Reference mark
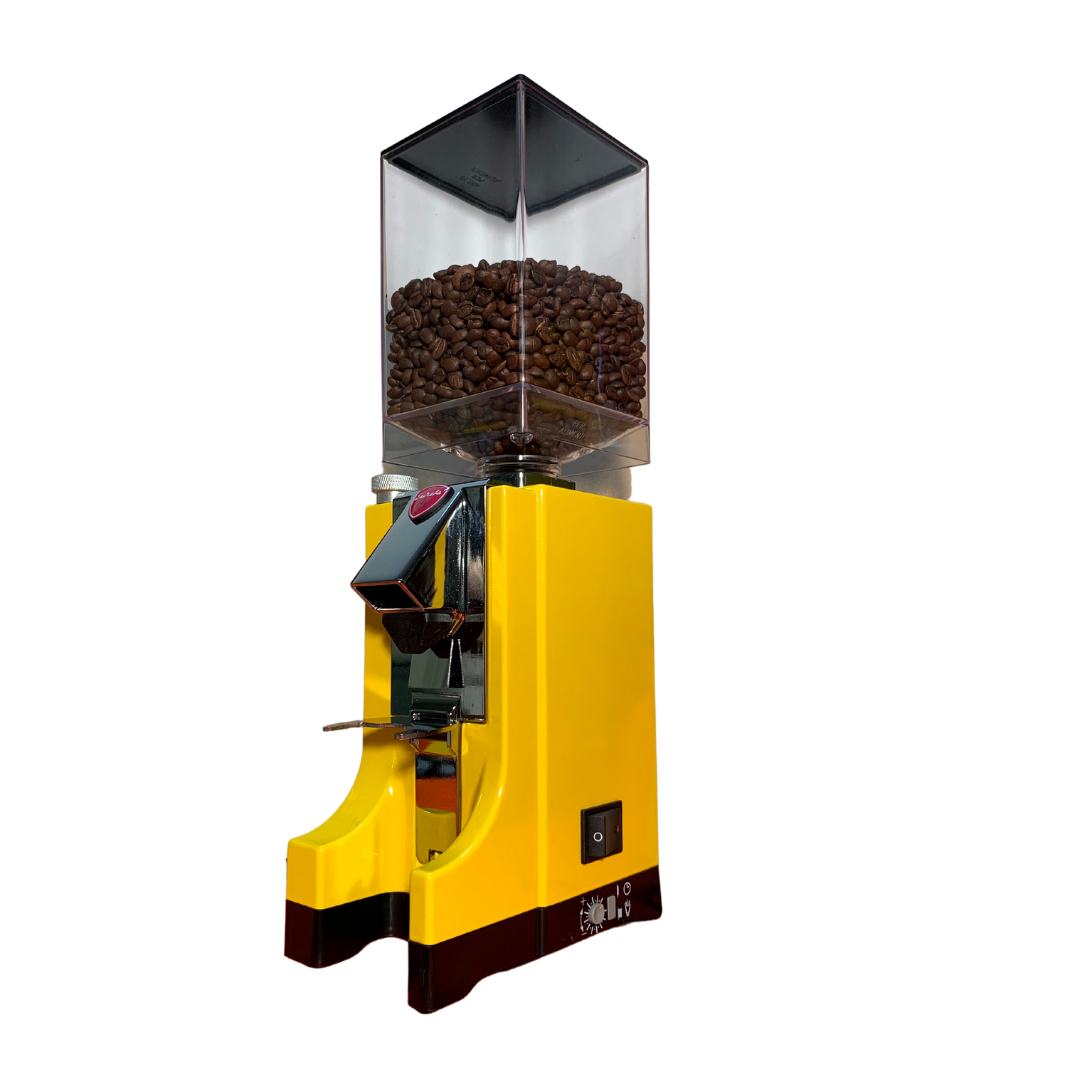
- Place the coffee bean hopper onto the grinder without the lid.
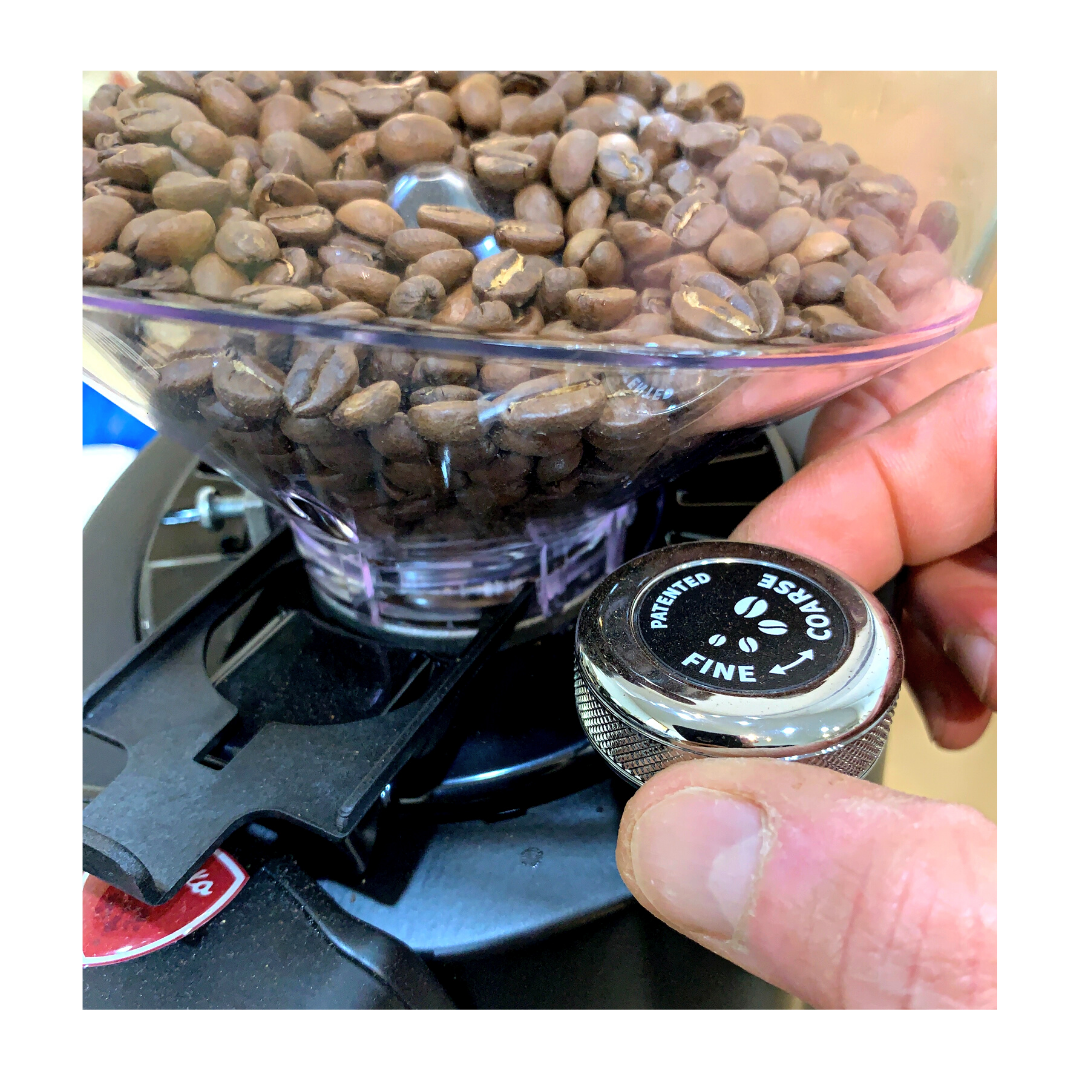
- Put a small mark on the grind setting wheel to indicate it’s original position. If your grinder body doesn’t have a reference point then mark one on the grinder.
- Turn the adjusting wheel 15 notches coarser on a stepped adjusting wheel or 1/2 a turn coarser on a infinite adjusting wheel.
- Switch the grinder on and off to ensure the grinding blades spin freely.
- Pour around 200 grams of coffee beans and continually grind it all out.
- Let grinder cool down for 15 minutes.
- Grind another 200 grams in the same coarse setting until the blades spin freely.
- Place the coarsely ground coffee into a container to be used for priming your coffee machine/maker after chemically cleaning. (Don’t throw it out).
- Let grinder cool down for 15 minutes.
- Turn the adjusting wheel 5 notches finer on the stepped adjusting wheel or 1/4 of a turn finer on an infinite adjusting wheel.
- Pour coffee beans into hopper. Your grinder is now ready for you to find the right grind size.
- Grind enough coffee at this setting and test. If you require a finer grind, turn adjusting wheel in small increments in the finer direction and retest. Repeat until you find the right setting.
- Once you find the right grind setting put another mark on the adjusting wheel inline with the mark on the body. Wipe off the first adjusting wheel mark.
- Alternatively if you require a coarser grind, turn grind adjustment in small increments in the coarser direction and retest.
If you replace your grinder blades in the future, you’ll need to follow these steps again.

Wayne Cox
October 25, 20219:05 pmHaving a new grinder and no experience in grinding coffee this blog was brilliant as it provided a step-by-step guide – plus reasons why each step was important. The meticulous instructions allowed me to feel confident that I would be able to find “my perfect grind” safely and whilst it took a few below average coffees to work this out, I now have that barista level taste, crema and aroma. The only problem now is that I am expected to make coffee for the whole family!
Paul Mannassis
November 3, 20211:08 amThank you for your feedback Wayne. It’s great to hear that you’ve improved your coffee and your family agrees.